Over the next couple of weeks, we will be releasing parts to a comprehensive guide on how to set up your mountain bike suspension. Each section will be an depth breakdown laid out in an easy-to-read format so whether you have no idea what HSC or preload are, or you know exactly what PSI you run in the Summer at a bike park, you are sure to learn something. The sections will include; Adjustments, Finding A Base Setting, Adjusting Damping, and General Set Up Tips.
Let's dive in!
Intro
Inside of your suspension, there are a bunch of intricately designed and precisely engineered doodads that make your bike all squishy. We don’t need to know exactly how everything is made, but it’s definitely beneficial to break down what your different suspension components are trying to accomplish and how our external adjusters can influence them.
In Part 1 of How To Set Up Mountain Bike Suspension we will be diving into the various adjustments available to you in order to make your bike feel buttery smooth.
The Components We're Working With
Your suspension is made up of two components.
The spring and the damper.
The spring is what absorbs the impacts and moves your suspension back and forth through your travel. A spring is extremely simple and not a smart component. It doesn’t care about how quickly it moves into the travel or if it bucks you when it rebounds after hitting a big drop. That’s where the damper comes into play.
The damper controls the action of the spring, and is in charge of how quickly your spring moves in and out of its travel. The damper is where most of the knob fiddling and tinkering comes into play, with adjustments like compression, rebound, and bottom out control, while your spring will have adjustments like air pressure and volume spacers or spring weight and preload.
Your spring and your damper are working together towards one common goal, and that’s keeping your tires on the ground. There are a lot of ways to complicate their job, but at the end of the day, that’s all they’re trying to do. Your suspension and your tires allow you to brake and corner with as much confidence as possible, and different trails and terrain are going to change how they need to perform.
For example, if you’ve got super rocky trails, you need to set up your suspension differently than if you’re riding big flowy berms and jumps. This is one of the reasons you can’t expect the recommended settings from the manufacturer to give you exactly what you need. The goal posts of ‘perfect suspension setup’ are always moving depending on trail conditions and where you’re riding, so it’s super important to have an understanding of how each adjustment will directly affect how your bike feels out on the trail, so you can have the best experience possible.
Spring
First we’re going to dive into your spring, and this can be either coil or air. There’s no clear answer on which of these two options is ‘better’ than the other, because they excel in different environments and suit different riders. All you need to know for now is how to properly set up whichever one you have on your bike. What we’re trying to accomplish with your spring rate is finetune your sag, which is how much your suspension compresses at rest with you on it.
Sag
Both your fork and your shock have sag, and this doesn’t measure anything more than the percentage of travel used when you’re just sitting on it.
Sag is a baseline to build the rest of your suspension settings off of, and is typically not adjusted much once it’s set unless you go on a crazy diet or put on the freshman 15.
Regardless of whether you have air or coil suspension, you should have the same amount of sag.
Sag gradients and a sag ring on a RockShox Super Deluxe Ultimate
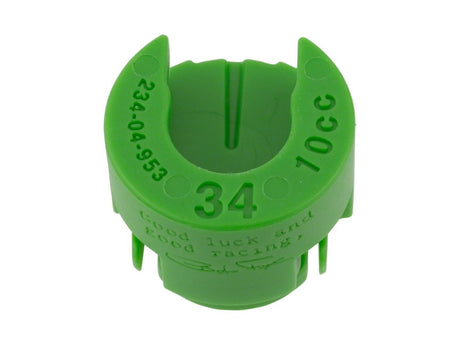
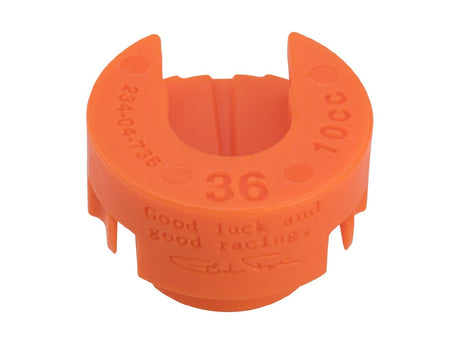
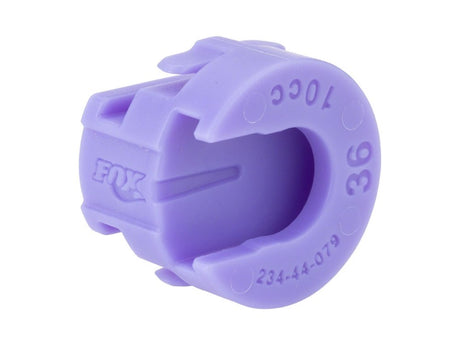
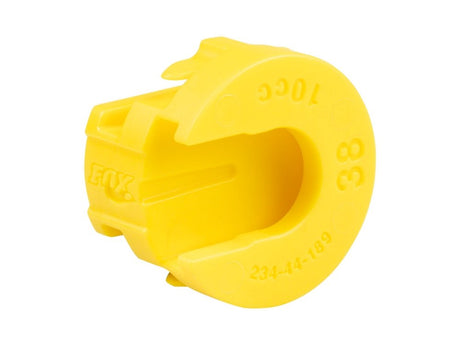
Volume Spacers
In all air sprung suspension, your air chamber is full of little air molecules that get squished together every time you bounce on your suspension. At the start of your stroke, those molecules have a bunch of room around them, so it’s easy to compress them together a bit. As that chamber shrinks, and the molecules start butting up against each other, it gets harder and harder to squeeze them together more. The more scrunched together they are, the harder it is to compress them even more, and this is why air suspension is progressive.
Installing a volume spacer increases that progression because it decreases the volume of your air spring. That means all those molecules have less room to begin with, and that progression will happen earlier in the stroke, giving you a bit more support in the mid stroke and lots more progression at the end of the stroke.
Preload
On coil sprung suspension, your only adjustment on your spring is your preload. Preload is how you adjust your sag point without completely switching out your spring, but it comes at the cost of reduced initial stroke sensitivity. You can preload your spring by turning the collar that holds your spring in place to compress the spring slightly. This increases the amount of force needed to compress the spring and thus decreases your sag. But that means to compress the spring when riding, you first need to overcome the force that is already being put on that spring before your shock starts moving.
Damper
When your suspension compresses, it pushes oil through your damper, and when you turn your dials on the outside of the damper, you’re moving little needles that regulate how quickly that oil can flow. These are your damping circuits. All high performance suspension products will have a compression and a rebound circuit in their damper, and these two act to control the two different directions of motion of your suspension.
They’re pretty self explanatory; your compression controls the compressing action and your rebound controls the rebounding action. More damping will slow down the motion it’s controlling, so more damping means your suspension will move slower, while less damping will allow your suspension to move faster.
Compression
The first step of our suspension’s action when taking an impact is the compression. As your fork or shock moves through its travel, it’s pushing oil through the compression damper, and you can adjust how easily that oil flows along its journey. By giving the oil lots of room to flow, your suspension will lean more heavily on your spring to provide support through the stroke. As you restrict that flow and increase your compression damping, more force is transferred to your damper, and it begins to do more of the heavy lifting of controlling the impacts you subject your bike to.
In your compression circuit, there are low and high speed valvings, which perform very different jobs. It’s easy to assume that your high speed compression controls your suspension when you’re going fast, and your low speed compression plays a bigger role at low speeds, but that is not the case! The “high” and “low” speed refers to the speed of your suspension movement, not your speed on the trail.
Your low speed compression (LSC) handles any slower speed movements in your suspension, like rollers, corners, or even just pedaling on smooth sections of trail. This is a huge part in how “supportive” your suspension feels and can help to hold you higher in the travel.
High speed compression (HSC) controls the action of the suspension as you hit a rock, root, curb, drop, or anything you happen to ride your bike into or off of. When your fork quickly enters its travel, this is when you’ll feel the effects of your high speed compression, and without it, you’d be more prone to bottoming out.
Rebound
Rebound is usually controlled by a red knob, and does more than buck you when hitting jumps! If your rebound is too slow, then your suspension will ‘pack’ through repetitive impacts and won’t extend before hitting the next obstacle. If your suspension is too fast, then you won’t be able to control your bike and it’ll feel like a pogo stick going down the trail. Our goal here is to find that delicate middle ground, so let’s look at your rebound adjustments and what they control.
Almost all suspension has low speed rebound (LSR) controls, and some products will also have high speed rebound (HSR) controls. If your fork or shock only has one red knob, then that’s the low speed rebound, and you’ve got a more straightforward setup.
Think of your rebound being split into two zones on your stanchion, your high speed zone and your low speed zone. Your rebound is controlled by a constant force: your compressed spring trying to rebound back to its resting state. So your high speed zone will always be in the same portion of your shock stroke and your low speed rebound will be in the same portion of your shock stroke.
Your high speed zone is deeper in your travel, when you hit big drops and get close to bottom out and your spring has more potential energy stored before extending again. Your low speed zone is shallower in your travel, where there is less energy being pushed into your rebound circuit by the compressed spring.
In reality, there aren’t two completely separate zones where only one of your rebound adjustments is doing all the work, and it’s more of a gradient where one adjustment or the other plays a larger role. Adjusting your rebound is finding a fine balance between getting bucked off your line and your suspension packing through repetitive hits.
Hydraulic Bottom Out
This setting is a little less common, but seen on the new RockShox rear shock lineup. With this adjustment, you can control exactly how it feels when you run out of travel, ranging from a nice supportive ramp up to a more sudden bottom out you could expect on a shock without this feature.
Next week, we will be talking about how to find a base setting,
in this case setting your sag!

