To Learn About The OneUp Components EDC Threadless Carrier, Watch The Video or Read The Blog!
Introduction
OneUp Components EDC or "every day carry" gear is designed to store your tools inside your bike rather than in a pack. Before we dive into the new Threadless Carrier, it's important to know about its predecessors.
Today, there are two styles of EDC tool. The EDC Lite, which is more simple and minimalistic, and the full size EDC Tool which is a more expansive and capable tool. To learn more about the EDC Lite, watch our overview video, or read our First Looks Blog.
Over the years, the EDC tool has had some revisions to make it more sleek and functional. At the time of this blog being written, we’re on the second version of the EDC Tool...
At A Glance:
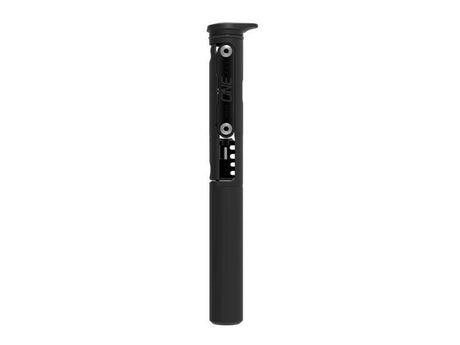
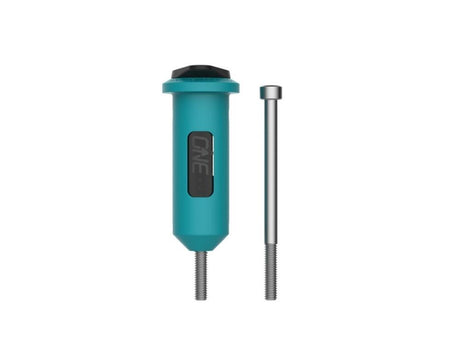
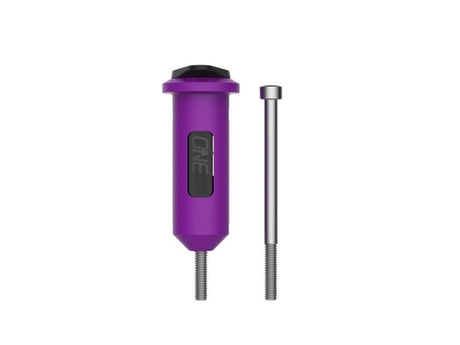
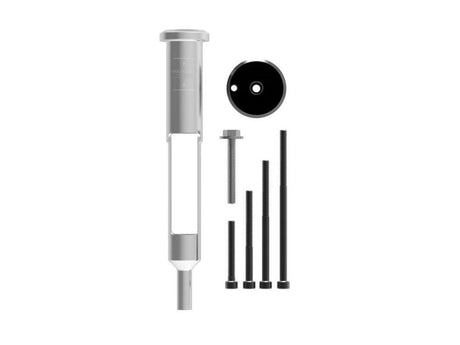
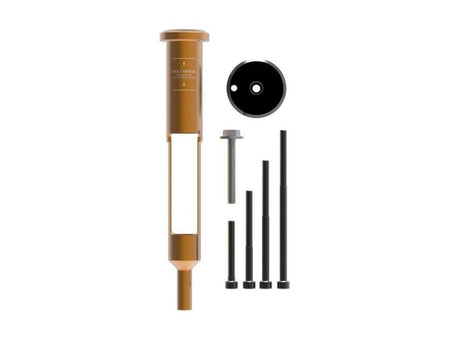
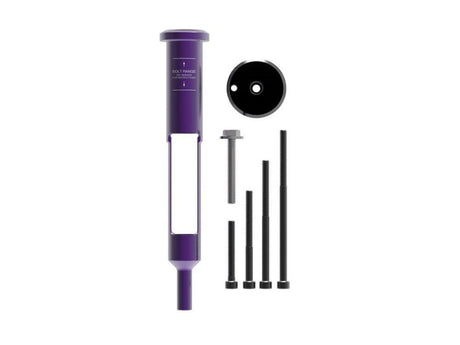
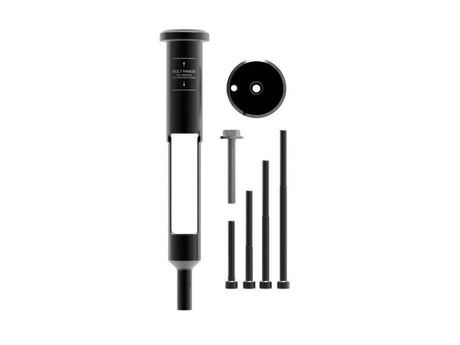
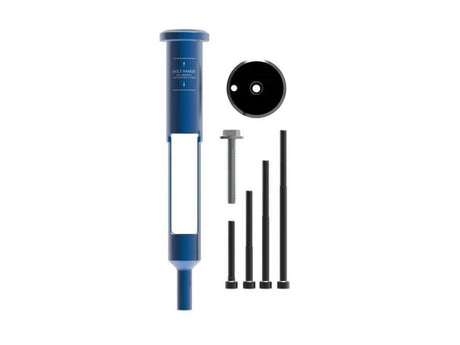
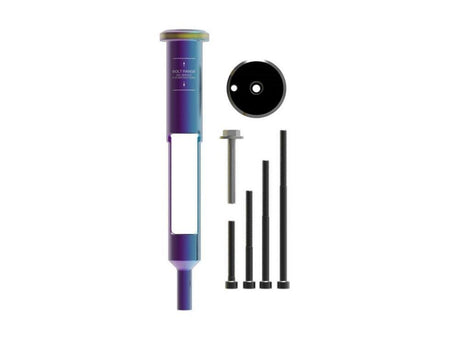
A Threadless, no tap install option that lets you store the EDC V2 Tool inside your stem/steerer tube without threading your steerer tube. EDC Tool sold separately.
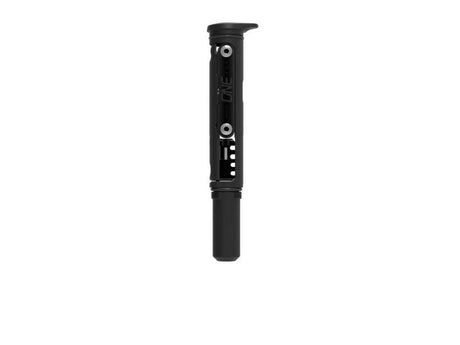
The Threadless Carrier replaces your star nut and lets you preload your headset with a bolt, while also creating a space for the EDC V2 Tool. (You must use the small EDC V2 Storage Capsule with the Threadless Carrier.) The tire plug and bacon strips fit within the small storage capsule.
MSRP: $40
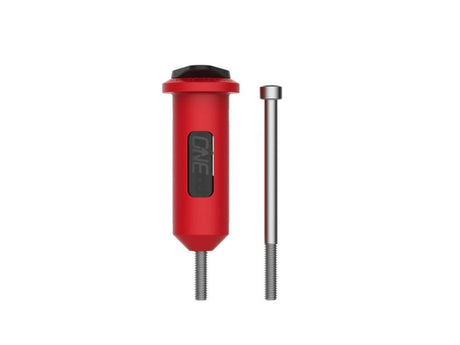
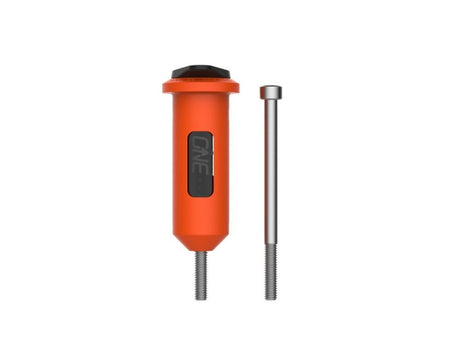
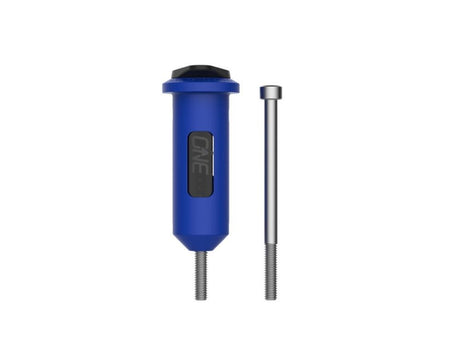
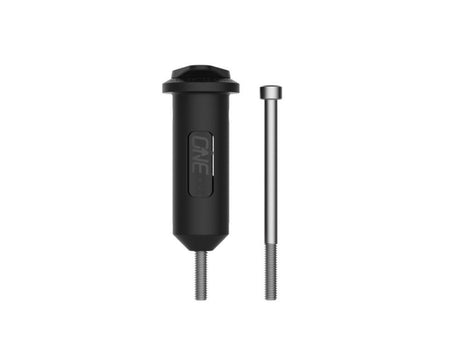
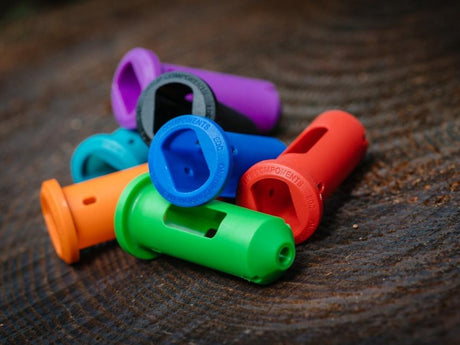
Color Options: Oil Slick, Black, Gold, Red, Blue, Green, Purple, Orange
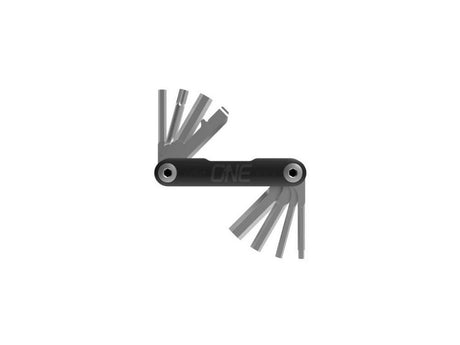
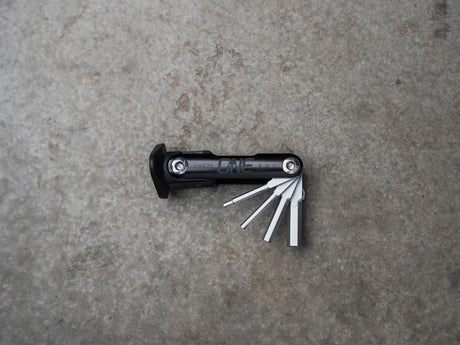
The EDC V2 Tool
The famed tool from OneUp Components has 20 functions:
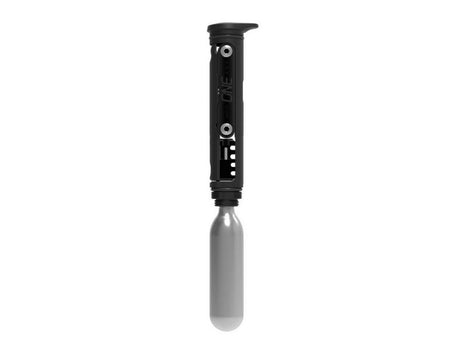
On the bottom, you can either thread in a C02 cartridge, or use one of the two included storage capsules. There’s a small size capsule to store the add on plug and plier kit to easily fix a tubeless flat and remove a quick link from your chain. There’s also a large size capsule to store some random goodies like money, zip ties, gorilla tape, patches, etcetera.
All together, you’ve got plenty of tools to fix mostly any trail-side repairs and store some goodies, all out of your pack and stashed in your bike.
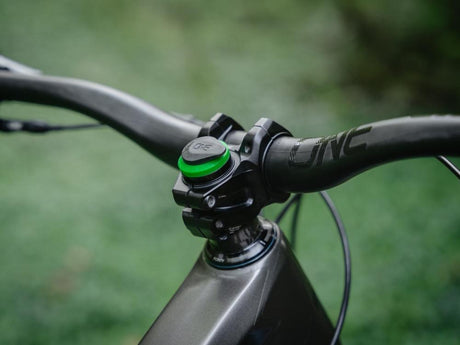
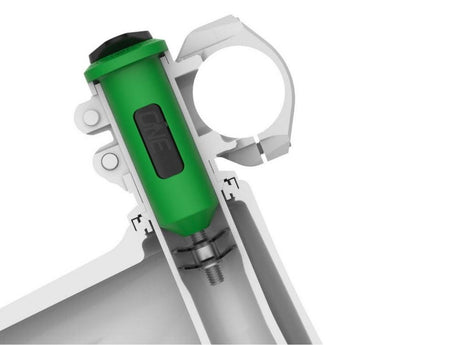
The EDC tool can fit inside of the OneUp EDC pump, but the most popular place to put this thing is in your fork’s steer tube. The original way to install this into your steer tube is to thread the steer tube and use the EDC threaded top cap to tighten your headset preload.
Then, out came the EDC stem which made it so you don’t have to thread your steer tube which works pretty good, but still isn’t quite as secure as threading the steer tube which is why the threading method is still the most popular method.
Now, threading your forks steer tube is no longer necessary!
The OneUp Components EDC Threadless Carrier
The Threadless Carrier makes it so you can install the EDC tool into your fork’s steer tube without tapping threads into it. No need to purchase the thread tap kit, and no need to cut threads into your fork’s steer tube. With the Threadless Carrier, you can install the EDC Tool with either the small storage capsule or no capsule. Heads up, the EDC Tool V1 with the green multi-tool will not fit in the threadless carrier, and only the EDC Tool V2 will fit.
Installation is incredibly easy, and we’ll show you how in just a minute. But first, let’s check to see if your fork is compatible.
Compatibility
The Threadless Carrier system is compatible with mostly all forks out on the trail, besides those with oddly long or very short steer tube lengths. The forks that just do not work are:
- Fox 38 Factory or Performance Elite with the oval steer
- The Fox 34 from 2012 through 2015
- All Giant Overdrive forks
- All Cannondale Lefty forks
If you have a Fox 38 with ovalized steer tube, you can still use the full size EDC tool, but you’ll need to tap threads. However, the Fox 38 Performance IS compatible, as it does not have an oval steer tube. The 2012 through 2015 Fox 34 is only compatible with the EDC Lite.
For all other forks out there, we’ll just need to measure your steer tube!
Measure from the absolute bottom of the steer tube (where it presses into the crown) to the top of your steer tube, with your top cap off.
For RockShox forks, the length must be between 210 to 265 millimeters.
For all other compatible forks, the length must be between 185 to 265 millimeters.
Like I said, this is going to fit a large majority of forks out there so, if this will fit your fork, let’s get into installation.
Installing the OneUp EDC Threadless Carrier
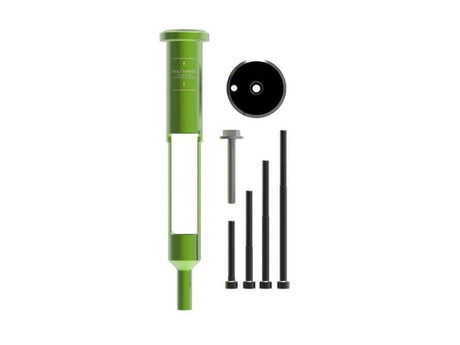
Included in the Threadless Carrier package is the threadless carrier itself, the lower cap, four black socket cap bolts and a silver M6 bolt with washer - you will need most of this to install the Carrier on your bike.
To install the OneUp Components EDC Threadless Carrier:
1. Remove the large storage capsule or C02 cartridge from your EDC Tool V2, if you’re using one of those. Also, remove the lower o-ring by hand, with a pick, or with the little two millimeter allen on the included multi tool.
2. Then, remove the top cap and bolt from your bike and put on some safety glasses.
3. Now you just need to remove the star nut from your fork’s steer tube. There’s a couple ways to do this, and the easiest way is to just use a hammer and a punch to smack it out of the bottom of the steer tube.
Make sure to hold a rag underneath to catch the star nut and and metal shavings so they don’t make their way to the fork seals.
Don’t have a super long punch? No worries.
Alternatively, you could use the star nut removal tool included with the EDC tap kit, if you have one, or use the M6 bolt and washer included with the threadless carrier. With the tap kit or M6 bolt and washer combined with a hollow cassette tool or fifteen millimeter quarter inch drive socket, you create a pulling tool to remove the center of the star nut.
The included M6 bolt with a 15mm 1/4" drive socket is our recommended method
Put one of those on top of the steer tube, thread in that bolt, tighten it down, and the center threads will come out. Then, just smack one side of the star nut with a screwdriver or punch until it turns sideways, and yank it out with pliers.
When compared to using the cassette tool, we prefer to use a quarter inch drive socket. It is more resistant to mushrooming the washer. If you have a OneUp EDC Tap Kit that comes with a star nut puller, we recommend that as well.
4. Next, make sure you have about three millimeters between the top of your steer tube and the top of your stem or spacers like you normally should so you can properly tighten your headset.
5. Next we’ll figure out which length bolt you need to use. There are two ways to do this.
Option one: Measure your complete steer tube length (see the compatibility section for how to do this) and look at the chart. This tells you which length bolt you need for your length steer tube. For example, when we installed the Threadless Carrier on one of our employee's bike, the steer tube measured at 210mm, so we used the 60mm bolt.
Option Two: Grab the 80mm which is the second longest bolt, of the the four various length bolts included in the threadless carrier package, and put it in the top cap that comes with the Threadless Carrier. You’ll notice OneUp has integrated an o-ring into the top cap which holds the bolt in so it doesn’t fall out when upside down - high IQ move, OneUp.
Now, slide the carrier into the steer tube so that the bottom rests on the top of the bolt. If the top of your steer tube sits between the marked lines then you’re good to go. If the bottom line is above the top of the steer, then use a shorter bolt. If it’s above the top line, use a longer bolt.
Use a longer bolt
Use the current bolt
Use a shorter bolt
6. Grab the bolt you need, put it in the included top cap, drop the carrier down onto the bolt, and carefully line them up so the carrier threads into the bolt.
7. Hold the bottom cap, and thread the carrier clockwise into the bolt until it’s just barely snug.
8. Now you just need to get the carrier and tool oriented to your preferred direction. The most common way is to have the top of the tool point to the right, but you can do whatever feels best or looks best to you! The tool can only fit one way in the carrier, so play around for a second to get the tool in there, and simply turn it to your preferred direction.
9. Finally, hold the top of the tool so it can’t spin, rotate the bottom cap with the drain hole towards the rear of the bike, and finish tightening the bottom bolt with a 4mm Allen key. Tighten the bolt as you typically would for a normal stem top cap for headset preload, which is no tighter than 2nm.
If you prefer to watch us do it to better understand the installation process, head to the 4:51 mark on our video of the OneUp Threadless Carrier.
If you already had your stem installed and tight, no need to loosen it up before installing the carrier. But, if this is a new bike build, or you loosened your stem’s pinch bolts, just tighten those down to the stem’s labeled torque.
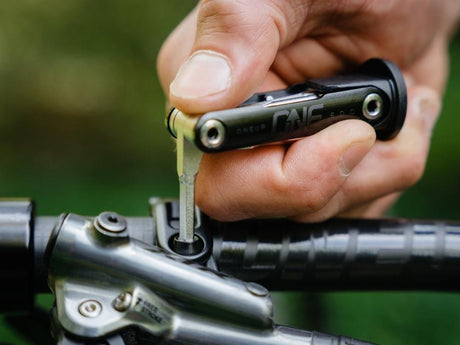
Now you can hit the trails without worrying if you brought your tools or not! The EDC Tool fits super snug and secure in the carrier, so so you don't have to worry about it falling out while on a vertical bike rack or riding rough trails. If you need to use the tool on the trail, just pull the tool right out of the Threadless Carrier. To put it back, just slide it back into the sleeve and smack it in.
That just about does it on the EDC Threadless Carrier! We are very happy to see OneUp Components continue their genius designs with a way to put their tool in our bikes WITHOUT tapping threads - how awesome is that?